How to Use a Food Scale for Accurate Calorie Counting
Published: March 2, 2026
At a glance
- A food scale is the #1 tool for accurate calorie counting—eyeballing portions can be off by 50%+
- Always weigh in grams for precision, and use the tare function to zero out containers
- Weigh food raw/uncooked when possible (meat loses water, pasta absorbs water)
- Most important foods to weigh: oils, nuts, cheese, meat, nut butters, grains
If you’re serious about tracking calories accurately, a food scale is a super handy tool. It’s the difference between guessing and knowing exactly what you’re eating.
Research shows people commonly underestimate their calorie intake significantly—and the biggest culprit is inaccurate portion sizes. A food scale fixes this problem in seconds.
Here’s everything you need to know about using a food scale for calorie counting.
Why You Need a Food Scale
The Problem with Eyeballing
Think you know what 2 tablespoons of peanut butter looks like? Most people overpour by 50-100%.
Example:
- “1 serving” peanut butter = 32g = 190 calories
- What most people pour = 50g = 297 calories
- Weekly error eating PB daily = 749 calories (could prevent 0.2 lbs weight loss)
Common foods people drastically underestimate:
- Cooking oils (super easy to pour 2-3x a serving)
- Nut butters (spoons hold way more than you think)
- Cheese (shredded cheese especially)
- Nuts and seeds
- Pasta and rice (especially cooked)
- Cereal and granola
The Science
Research has found that even trained dietitians and nutrition professionals underestimate portions without a scale. If experts can’t eyeball accurately, the rest of us don’t stand a chance.
A food scale removes all guesswork.
Choosing a Food Scale
Must-Have Features
- Digital display - Analog scales aren’t precise enough
- Weighs in grams - The most accurate unit for food
- Tare/zero function - Resets scale to 0 with a container on it
- Capacity of at least 5kg (11 lbs) - Enough for most foods
- Flat surface - Easy to place plates and bowls on
Nice-to-Have Features
- Auto-off - Saves battery (though this can be annoying mid-cooking)
- Backlit display - Useful in dim lighting
- Multiple units - Switch between grams, ounces, lbs
Recommended Scale
You don’t need to spend much. A basic digital scale costs $10-20 and will last years.
Crownful Digital Food Scale (~$15) - Affordable, reliable, and has all the must-have features.
Where NOT to cheap out: Avoid scales without a tare function. It’s essential for practical use.
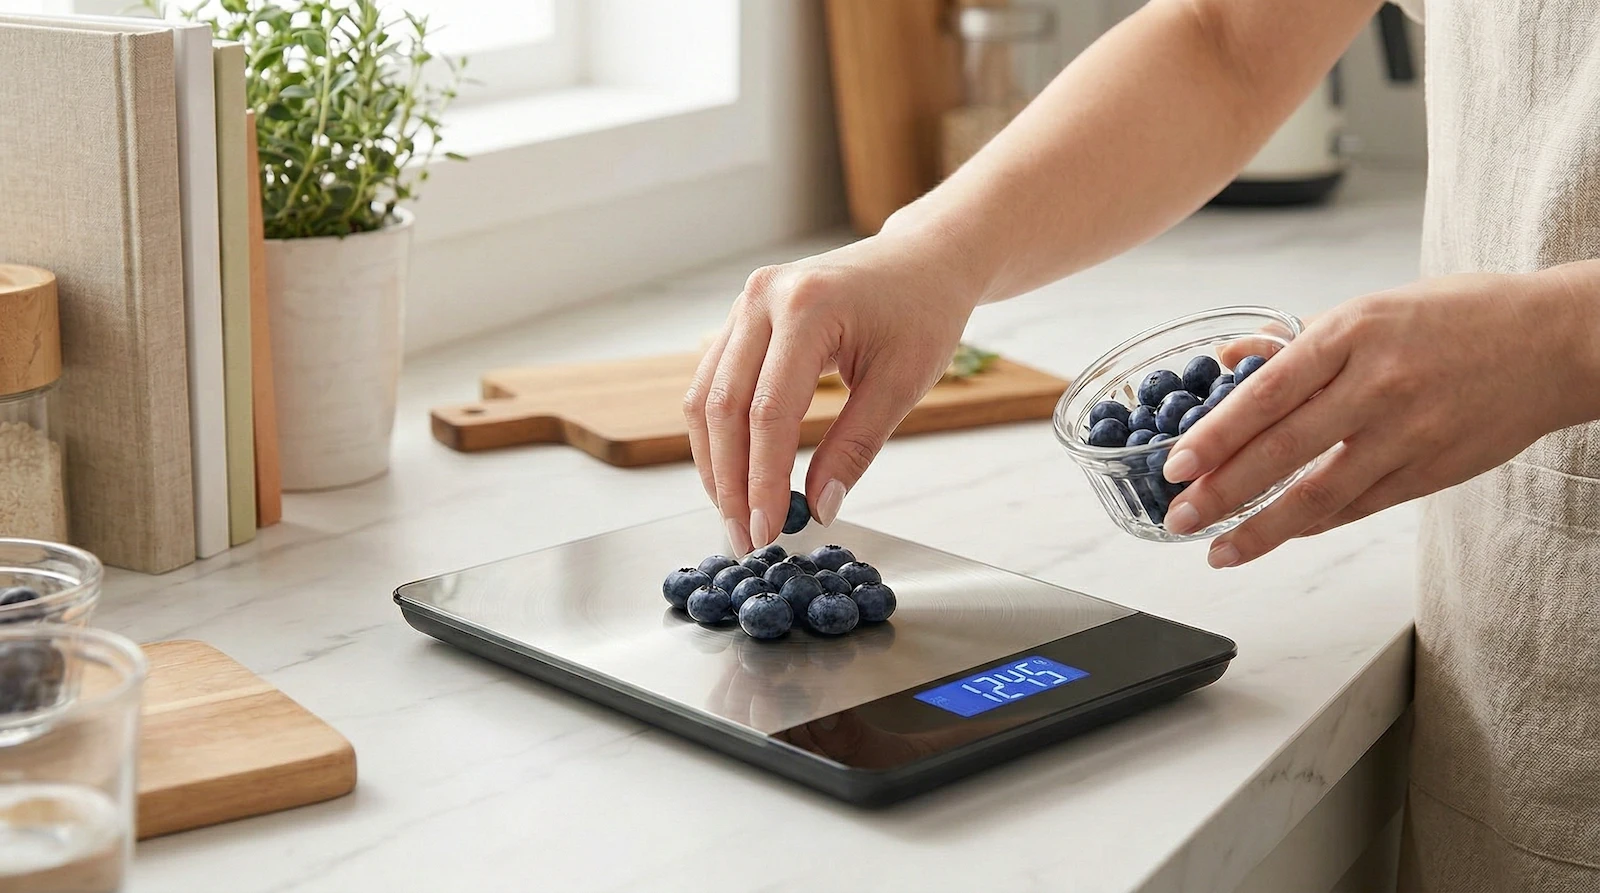
How to Use a Food Scale: Step-by-Step
Basic Method (Single Item)
1. Place the scale on a flat, stable surface
Make sure it’s not on a towel or uneven countertop—this affects accuracy.
2. Turn on the scale
Most have a power button or turn on when you place something on them.
3. Place your container or plate on the scale
Could be a bowl, plate, or even the packaging the food came in.
4. Press “Tare” or “Zero”
This resets the scale to 0, so you’re only weighing the food, not the container.
5. Add your food
The display shows only the weight of the food.
6. Log the weight in your tracking app
Use grams for precision. Round to the nearest whole number if needed.
Advanced Techniques
Technique 1: Weighing Multiple Foods on One Plate
Scenario: You’re making a bowl with chicken, rice, and broccoli.
Method:
- Place empty bowl on scale → Tare to 0
- Add chicken → Note weight → Tare to 0
- Add rice → Note weight → Tare to 0
- Add broccoli → Note weight → Done
This way you weigh everything without needing multiple dishes.
Technique 2: Weighing Food in the Original Container
Scenario: You want to measure peanut butter from the jar.
Method 1 (Tare method):
- Place jar on scale → Note weight (e.g., 450g)
- Scoop out PB onto your bread
- Place jar back on scale → Note new weight (e.g., 420g)
- Difference = 30g of peanut butter used
Method 2 (Negative weight):
- Place jar on scale → Tare to 0
- Scoop out PB
- Place jar back on scale → It shows negative (e.g., -30g)
- That’s how much you used (30g)
This saves dirtying extra bowls.
Technique 3: Weighing Liquids
Most liquids have similar density to water (1g = 1ml), so you can weigh them instead of using measuring cups.
Example: Milk
- Weighing: 240g = ~240ml = 1 cup
- More accurate than pouring to a line on a measuring cup
When to measure instead of weigh:
- Very thick liquids (honey, molasses) where 1g ≠ 1ml
- When the recipe specifically calls for volume
Technique 4: Meal Prep Portioning
Scenario: You made a big batch of chili and want to divide it into 6 servings.
Method:
- Weigh the entire pot of cooked chili (minus pot weight)
- Divide total weight by 6 to get weight per serving
- Weigh out each container to match that target weight
Example:
- Total chili = 1,800g
- Per serving = 1,800g ÷ 6 = 300g
- Scoop 300g into each container
Now you log “1 serving of chili” and know it’s exactly ⅙ of the recipe.
What Foods Should You Always Weigh?
Priority 1: Calorie-Dense Foods (Small Volume, High Calories)
These are where the biggest errors happen:
Fats & Oils
- Olive oil, coconut oil, butter
- Even 5g extra = 45 calories
- Use a small dish on the scale, pour, then drizzle from that
Nut Butters
- Peanut butter, almond butter
- Super easy to overpour
Nuts & Seeds
- Almonds, cashews, walnuts, chia seeds
- “A handful” varies wildly
Cheese
- Shredded cheese, cream cheese, parmesan
- Especially easy to overestimate shredded cheese
Dried Fruit
- Raisins, dates, dried mango
- Very calorie-dense, small volume
Priority 2: Protein & Carbs
Raw Meat, Poultry, Fish
- Weigh raw before cooking (loses water weight when cooked)
- If you must weigh cooked, search “cooked” in your app
Grains
- Rice, pasta, oats, quinoa
- Measure dry/uncooked when possible (absorbs water when cooked)
Bread & Baked Goods
- Serving sizes vary brand to brand
- Even “1 slice” can range from 25g to 50g
Priority 3: Condiments & Add-Ons
Small things that add up:
- Salad dressings
- Sauces (BBQ, ketchup, mayo)
- Honey, maple syrup, jam
- Chocolate chips, croutons, bacon bits
What You DON’T Need to Weigh
Low-Calorie Vegetables
- Lettuce, spinach, cucumber, celery, zucchini
- Being off by 20g doesn’t matter much (5-10 calories)
- Weigh if you want precision, but it’s less critical
Beverages You’re Drinking Straight
- Just track “1 cup” or “12 oz can”
- Weighing adds no benefit
Pre-Packaged Single Servings
- Individual yogurt cups, protein bars, snack packs
- Trust the label (or scan the barcode)
Raw vs. Cooked: When to Weigh
The Rule: Always Weigh Raw When Possible
Food weight changes dramatically during cooking:
Meat loses water
- 100g raw chicken ≠ 100g cooked chicken
- Raw chicken is ~165 cal per 100g
- Cooked chicken is ~200+ cal per 100g (more concentrated after water loss)
Pasta/rice absorbs water
- 100g dry pasta = ~240g cooked
- Nutrition labels list dry weight
Vegetables lose or gain water
- Depends on cooking method (roasting vs. steaming)
How to Track Each
| Food | How to Weigh | What to Log |
|---|---|---|
| Chicken breast | Raw before cooking | ”Chicken breast raw” |
| Ground beef | Raw before cooking | ”Ground beef raw 85/15” |
| Salmon | Raw before cooking | ”Salmon raw” |
| Rice | Dry before cooking | ”White rice dry” |
| Pasta | Dry before cooking | ”Pasta dry” |
| Oats | Dry before cooking | ”Oats dry” |
What If You Only Have Cooked Food?
Search your app for “cooked” versions:
- “Chicken breast cooked”
- “Brown rice cooked”
- “Ground turkey cooked”
The calorie values will be different (more calories per gram for meat, fewer for grains/pasta).
Meal Prep Exception
If you’re meal prepping, you can log everything raw as you cook, then divide the total recipe by number of servings.
Example:
- Log 500g raw chicken, 200g dry rice, vegetables, oil
- Cook everything together
- Weigh total cooked weight (e.g., 900g)
- Divide into 3 containers of 300g each
- Log “⅓ Chicken Rice Bowl” each time
Common Mistakes & How to Fix Them
Mistake 1: Using Volume (Cups) Instead of Weight
Problem: “1 cup” of rice varies wildly depending on how compacted it is.
Fix: Weigh everything in grams. Cups are only useful for liquids.
Mistake 2: Weighing Cooked Food, Logging Raw Calories
Problem: You weigh 150g of cooked chicken and log “150g raw chicken.” You’re underestimating by ~30%.
Fix: If you weigh cooked, log cooked. If you weigh raw, log raw. Don’t mix.
Mistake 3: Not Taring Between Ingredients
Problem: You add rice, then add chicken on top. Now you don’t know how much each weighs.
Fix: Tare to zero after each ingredient (see Advanced Technique 1 above).
Mistake 4: Forgetting to Weigh Cooking Oil
Problem: You spray the pan or pour from the bottle without weighing. Oil is 120 calories per tablespoon—easy to use 2-3 tablespoons without realizing.
Fix:
- Pour oil into a small bowl on the scale first
- Or weigh the bottle before and after
Mistake 5: Rounding Too Generously
Problem: You weigh 47g of almonds but log “1 serving (28g)” because it’s easier.
Fix: Log the actual weight. Most apps let you enter custom amounts (e.g., “47g”).
Mistake 6: Not Checking Scale Accuracy
Problem: Your scale might be off, especially if the battery is low or it’s on an uneven surface.
Fix: Test it with something of known weight (e.g., a dumbbell, a bag of flour with weight listed). If it’s off by more than 1-2g, replace it.
Building the Habit
Week 1: Weigh Everything
Even low-calorie foods. Even things you think you know. The goal is to build the habit and calibrate your intuition.
Week 2-4: Focus on Calorie-Dense Foods
You can eyeball lettuce, but weigh the nuts and oils. This is the sweet spot of effort vs. accuracy.
After 1 Month: You’ll Be Fast
Weighing food takes 10 seconds once you’ve done it a few times. It becomes as automatic as pouring a glass of water.
Quick Reference: Common Serving Sizes
Here’s what proper portions actually look like when weighed:
| Food | Serving Size | Weight | Calories |
|---|---|---|---|
| Chicken breast | 1 medium breast | 120-180g raw | 200-300 |
| Peanut butter | 2 tbsp | 32g | 190 |
| Almonds | 1 serving | 28g (≈23 almonds) | 160 |
| Pasta | 1 serving | 56g dry | 200 |
| Rice | 1 serving | 45g dry | 160 |
| Olive oil | 1 tbsp | 14g | 120 |
| Cheese (shredded) | 1 serving | 28g | 110 |
| Banana | 1 medium | 118g | 105 |
| Apple | 1 medium | 182g | 95 |
Use these as benchmarks when building meals.
Do You Have to Weigh Forever?
Short answer: No, but it helps.
After a few months of weighing food, you’ll develop an intuitive sense of portion sizes. Many people transition to eyeballing most foods and only weighing calorie-dense items.
However:
- If weight loss stalls, return to weighing everything for 1-2 weeks
- Many people find weighing so quick and easy they just keep doing it
- It’s the only way to be 100% accurate
Think of it like training wheels—you can take them off eventually, but they make learning much easier.
Start Tracking with Free Calorie Track
Free Calorie Track makes it easy to log weighed foods:
- ✅ Enter custom gram amounts for any food
- ✅ Barcode scanner for packaged items
- ✅ Save recipes with ingredient weights
- ✅ Track macros (protein, carbs, fat)
- ✅ 100% free, no paywall
Final Tips
- Keep your scale on the counter - If you have to dig it out of a cabinet every time, you won’t use it
- Invest in a good scale - A $15 scale that lasts 5 years is worth every penny
- Don’t obsess over 1-2 grams - Close enough is fine for most foods (except oils/nuts)
- Weigh in grams, always - More precise than ounces
- When in doubt, overestimate - Better to log 10% more than 10% less